Jump to content

Photo

Baldur's Gate 1 No-Reload Challenge


  • Please log in to reply
16394 replies to this topic

#1051
Grond0

Grond0
  • Members
  • 6,498 posts
I think Dizzy has finally managed to climb out of the hole formed by a dying computer.  After replacing memory and reinstalling the operating system (and everything else) I think everything is now working OK.  I did manage to rescue my final save - here is what it looked like on loading up this time:
Posted Image
At first I thought that the slight changes I've probably made in mod setup (I had a list of mods used, but not of the options taken up) had caused something horrible to happen, but then realised that the main character wasn't dead, but just faceless.  Half an hour later I'd failed to find where I originally got her portrait from and she has undergone a radical facelift (what can you expect from someone called Dizzy).  The remainder of the crew are correctly dead, as I belatedly remembered.  They had progressed through the Cloakwood with very little trouble, but came unstuck against the Archdruid (or something like that) outside the mines.  I've never had much difficulty with him before, but nothing I could do this time seemed to be able to touch him at all, while his summons worked their way through the party.  Once everyone is fighting fit again I'll go back and test his invulnerability a bit more.

Edited by Grond0, 10 April 2011 - 11:27 AM.


#1052
Wierdo

Wierdo
  • Members
  • 392 posts
@Grond0: You have a bit of recovering and re-strategising to do!

Wierdo's Bhaalspawn Bretheren

Update


Wierdo's party have done the final Iron Throne tower bit and transported Duke Eltan to safety. They then killed Slythe and his girlfriend in the Undercellars, and rescued Dukes Belt and Liia from the dopplegangers and Sarevok.

They are now hot on Sarevok's trail, about to enter the maze below the thief's guild.

Edited by Wierdo, 10 April 2011 - 12:17 PM.


#1053
Gate70

Gate70
  • Members
  • 3,208 posts
Fimm the feralan ranger (portrait of Cernd). Maybe I can do the kit some justice this time.

Linux/Wine
1PP, HARDTIMES, BG1NPC, BG1UB, ATWEAKS, LEVEL1 NPCS, GENERALIZED BIFFING, UB Justifier Kit & Feralan Kit.
Managed to get randomiser working in mode 1 but lost the randomised tome element. Possibly an issue, e.g. Unsheys girdle.

Str 18/30
Dex 19
Con 17
Int 11
Wis 18
Cha 9

** axe, ** war hammer (** 2 weapon style)

Winthrop warns me the last feralan he saw was killed by arrows so I reluctantly buy one axe and a medium shield (kit should prevent large shield but doesn't so will abide by this restriction anyway).

Gorion dies as we leave Candlekeep and Imoen (shortbow) insists on travelling with me. We try to sneak past an assassin called Tarnesh but Imoen has taken so long to hide that I end up being seen. We quickly step inside the inn to recruit and equip Khalid (heavy crossbow) and Jaheira (sling).

The four of us are too much for Tarnesh. We perform some minor heroics before finding some magical studded leather armour in a cave. Jaheira puts it on, only to realised it is cursed and attracts missile weapons.

I attack three hobgoblin elite archers on a bridge but an ogre berserker almost kills Jaheira. As we try to re-group I am hit twice and have to gulp a green potion. We decide to run, only for Neville and his bandits to ambush us. I quickly heal myself and we head north instead and escape with our lives.
Posted Image

We return and teach Neville a lesson, only for the hobgoblins on the bridge to poison me twice more. Run away.

Our third attempts sees us take the bridge so we return to Beregost and deal with a house of spiders. I ride their poison out as only a couple of green potions remain.

I grab the helm of glory from Silke and finally use some bracers (ac8) that Garrick safely identifies. My axe has broken so I switch to the spare war hammer (taken from the Candlekeep priests quarters) before re-equipping.

(even with raging Fimm is taking damage from enemies that would normally be shrugged off, would make sense to equip him with a longbow really).
Posted Image

Jaheira suggests we deal with a slow ogre, to find it has a girdle (of gender) and BOTH of Unshey's unique girdles. Caravan bandits are next, then Arghain. Jaheira has finally learn another spell and is about to memorise slow poison when I ask her to memorise barkskin instead.

Imoen stumbles over Ioin Gallchobhair and gang (don't normally bother with these but suspect they may have randomised goodies). Billy is soon dead while Dribben lasts longer but has an excruciating death.
Posted Image
Ioin has already been doomed, but our grim struggle ends with a crossbow bolt from Khalid.
Posted Image

Sarhedra is impressed with how quick we dealt with ogres and hobgoblins. A bit strange really as we had to run all the way to Firewine Bridge and rest before finishing them off. Back at the bridge we deal with Meilum and then head to Gullykin and face Morvin.

Drakar and Halacan are killed first but I've failed to charm Molkar. I've had one blue potion and gulp two more on the run then heal myself further. Khalid kills Molkar as my rage wears off, and Morvin manages four and one third circuits round the party before Jaheira kills him. His axe is nothing special but I take it anyway as a symbol of how close the battle was.

Fimm, feralan 4. 79 kills, Drakar.
Imoen, thief 4. 30 kills, Meilum.
Khalid, fighter 4. 57 kills, Molkar.
Jaheira, fighter 3 druid 3. 30 kills, Morvin.

Edited by Gate70, 10 April 2011 - 02:36 PM.


#1054
Yogohong

Yogohong
  • Members
  • 17 posts
Finally some time to post an update (and a large one at that).

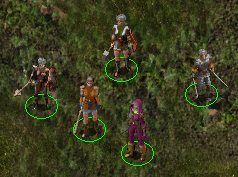
Amidst the troubles which currently plague the Sword Coast, a group of heroes emerges from the seemingly peaceful fortress of Candlekeep. These people, strangers to each other and everyone else, are known as
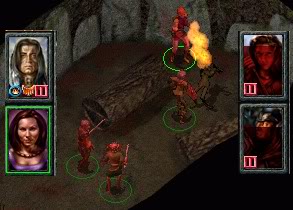
 The Gilded Rose.

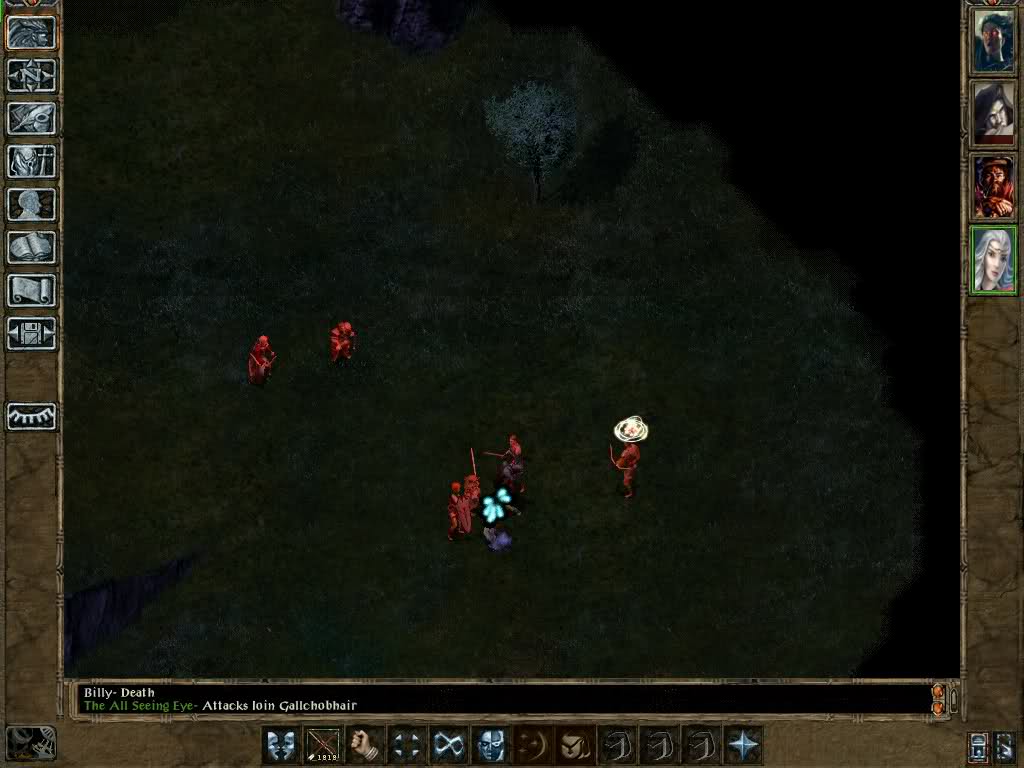
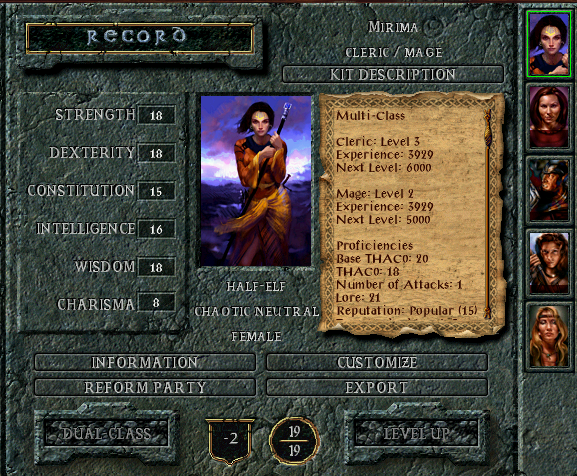
These people are led by the fearless woman only known as The All Seing Eye. She is a devout follower of Helm and oversees the group's actions.

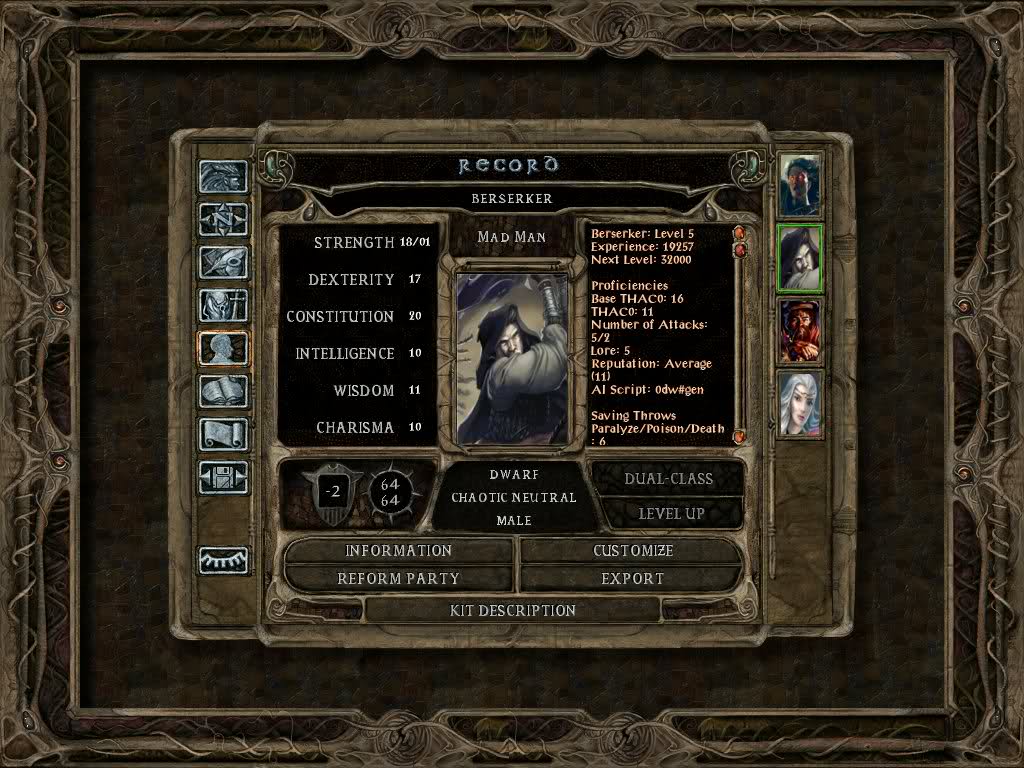
Her Right Hand is only known by his actions and behavior; Mad Man. A dwarf of immense strength and constitution. He has a knack for swinging large swords and dismembering his foes.

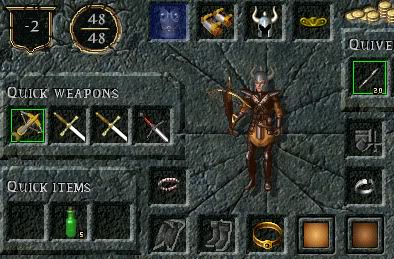
Her Left Hand is rumored to have been fathered by the dreaded Lord of Murder, Bhaal. An elf known by the name of Quin, she excels in every field; fighting, magics and thievery, Quin does it all. This is speculated to be amplified by the divine blood which flows in her veins.
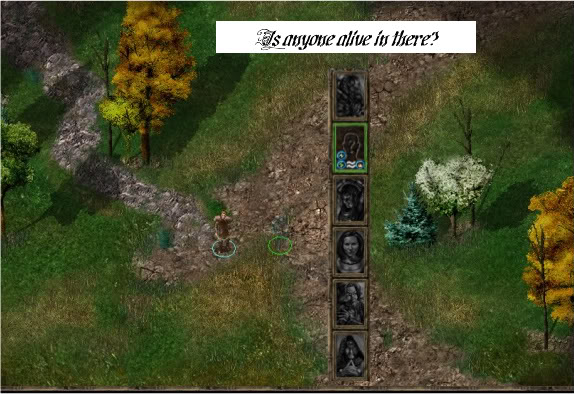
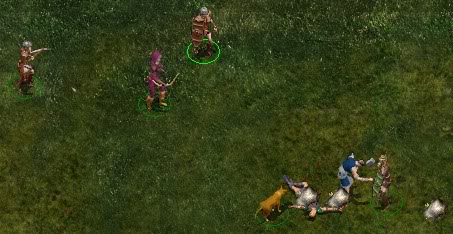
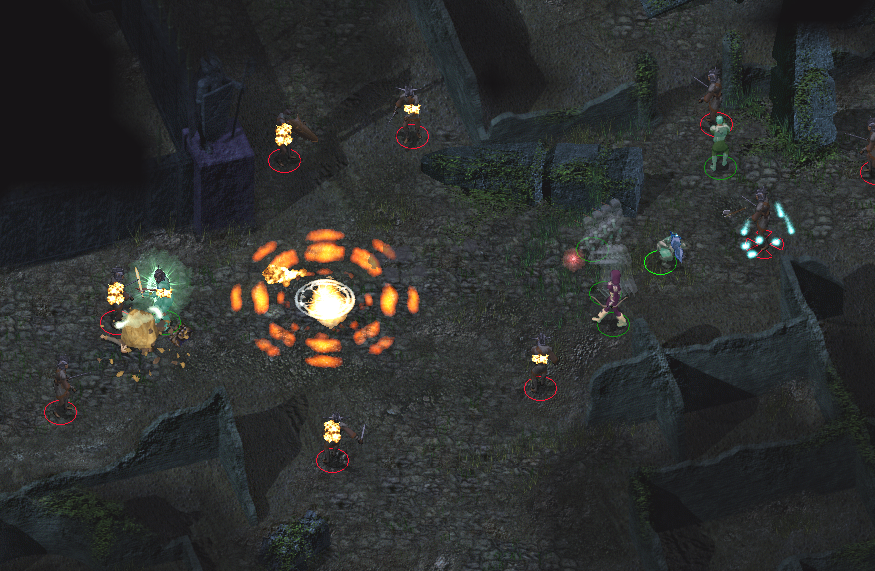
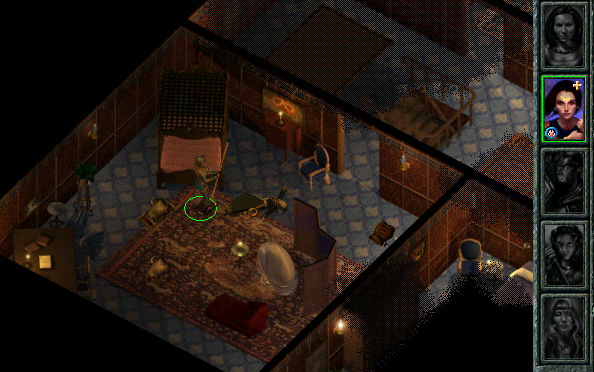
The Gilded Rose Part 1 - Heading Out.

The group quickly gathered their belongings and headed out of the fortress of Candlekeep in search of the troubles which currently plague the Sword Coast. They make a quick stop in Beregost and are approached by a gnome identified as Tiax. Mad Man takes a liking to Tiax and The All Seing Eye agrees to Tiax's membership of The Gilded Rose. They head east past the temple to the lands of the basilisks. Here they befriend a ghoul known as Korax.

Posted Image

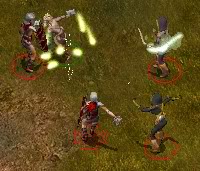
Tiax shows his prowess by using his magics to summon a ghast to aid them in their fight. They proceed with caution and are ambushed by a gnome known as Mutamin and his basilisks.
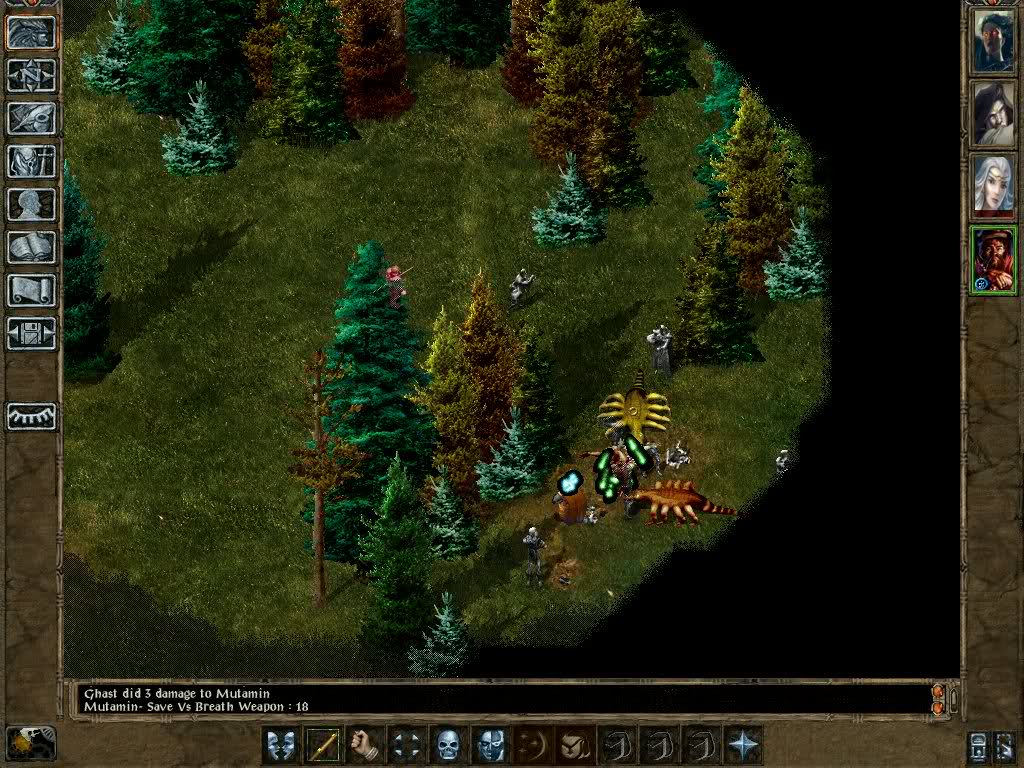
Posted Image

Mutamin gets caught in a captive trance and joins his soon to be dead basilisks in the land of the dead. The group felt wiser from the battle and used the time to contemplate their actions.

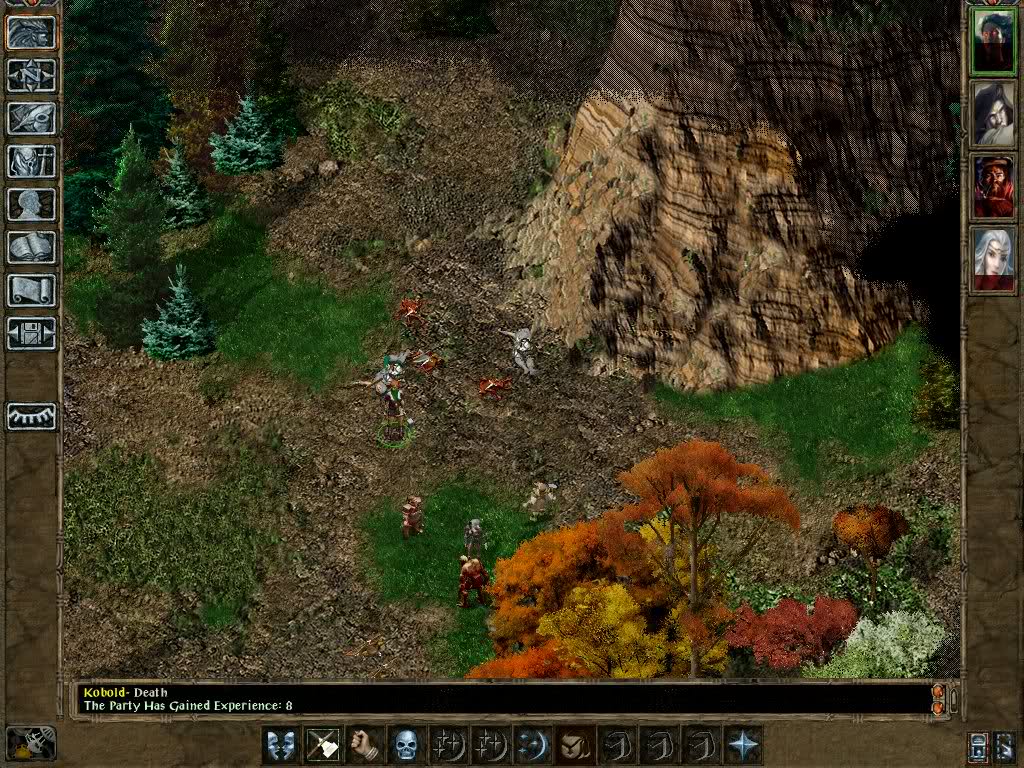
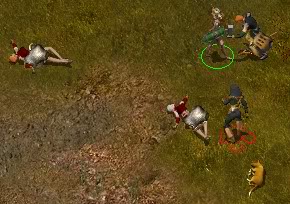
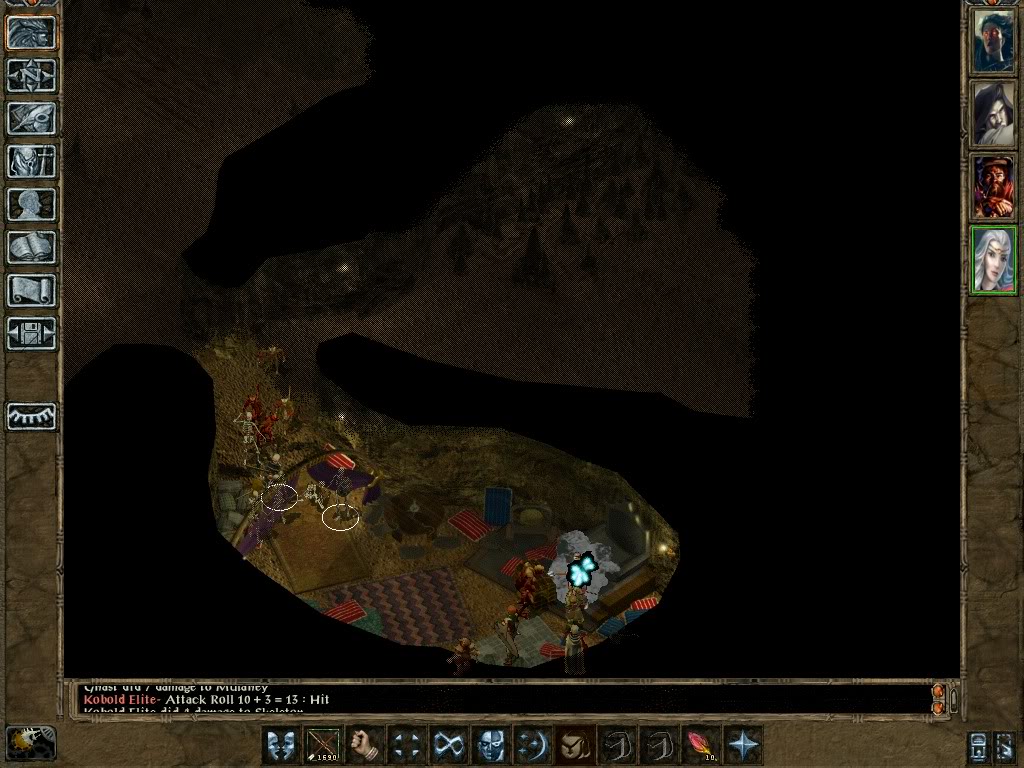
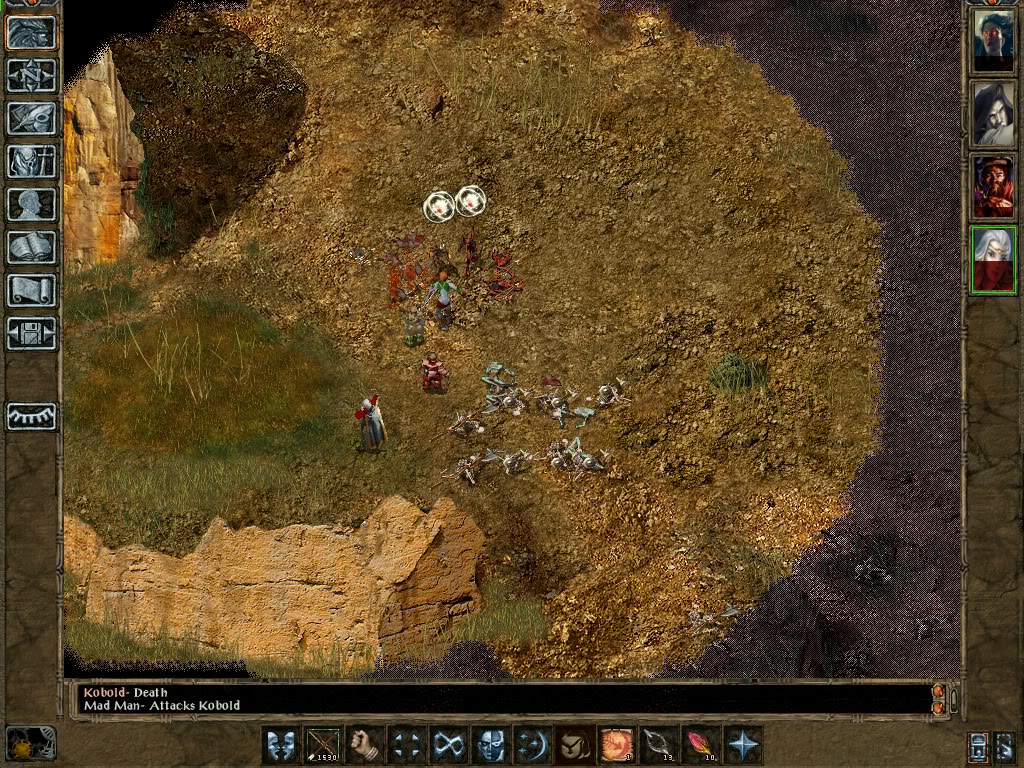
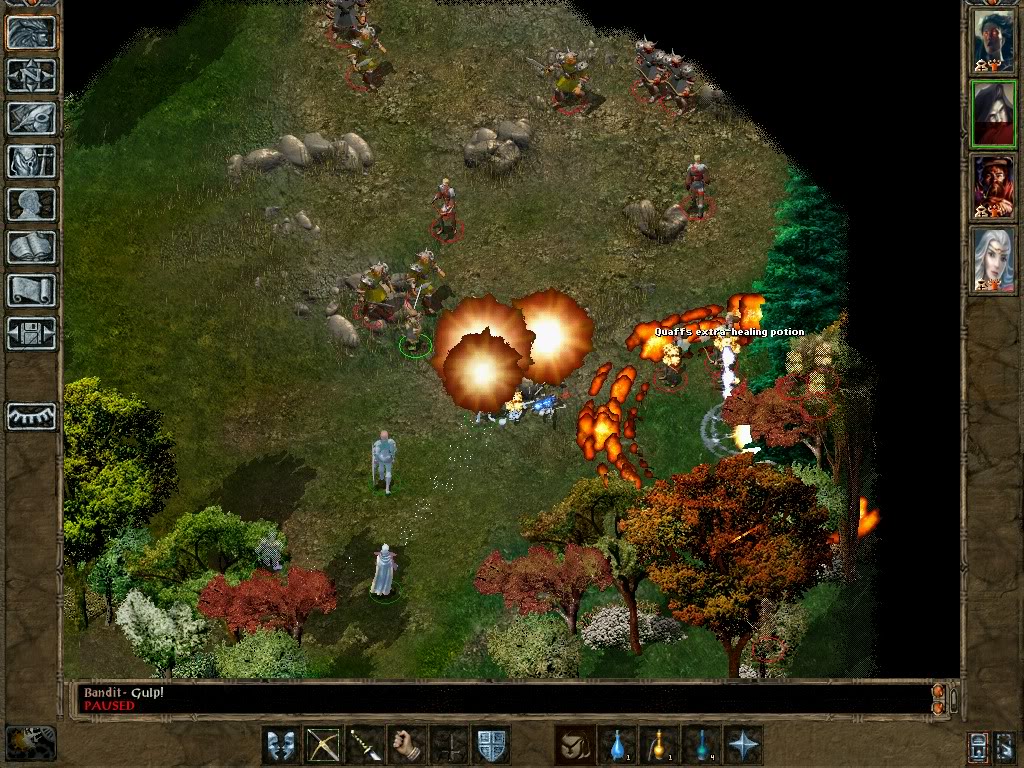
The Gilded Rose then headed south, all the way down to Amn and encountered a duo of bandits. The group defended themselves against the duo's attack which was aided by a rowing band of kobolds. Mad Man was heard laughing as he dismembered every single one of the kobold band.

Posted Image

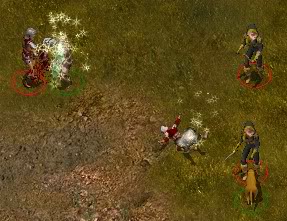
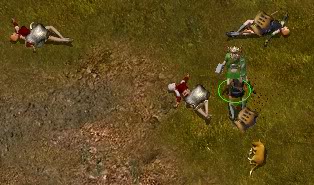
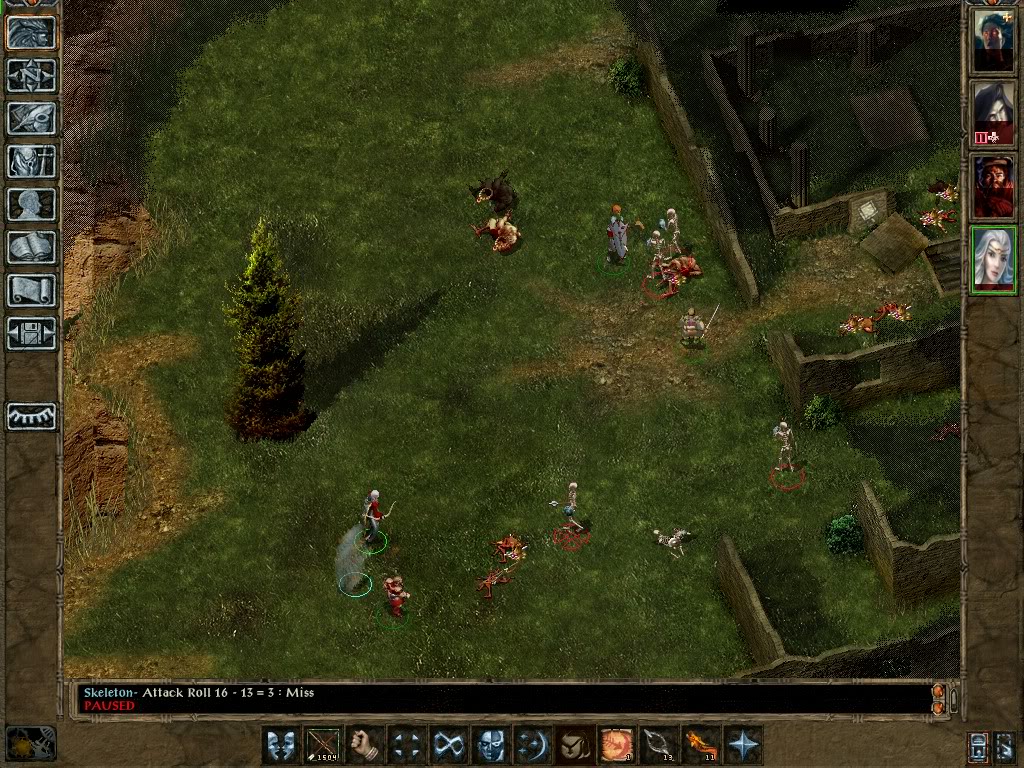
Another group of bandits ambushed The Gilded Rose as they were travelling. They proved to be tougher than most bandits, but their prowess were no match for The All Seing Eye's magics and Quin's superior archery. Mad Man and Tiax finished the rest off.

Posted Image

The group headed west from here own and met a siren called Shoal. She attacked the group and killed off The All Seing Eye in one quick kiss. Mad Man promptly showed her his affection by burying his two-handed sword into her flesh. Shoal surrendered and explained she had been imprisoned by an ogre-mage named Droth. In return for defeating Droth, she would resurrect The All Seing Eye. The group agreed and fought Droth.

Posted Image

Droth was quickly felled and Shoal was free. However, the summoned ghast went after Shoal upon seeing her delicious flesh. The Gilded Rose chose not to interfere as she had not helped during the battle.

Posted Image

After the battle, the group went south and were ambushed by a large number of ogres. They ogres were no match for Mad Man's onslaught. The group continued further south and encountered a man known as Basillus. He promptly attacked The Gilded Rose and they responded in kind. Sadly for Basilus, The All Seing Eye's god proved to be greater than his.
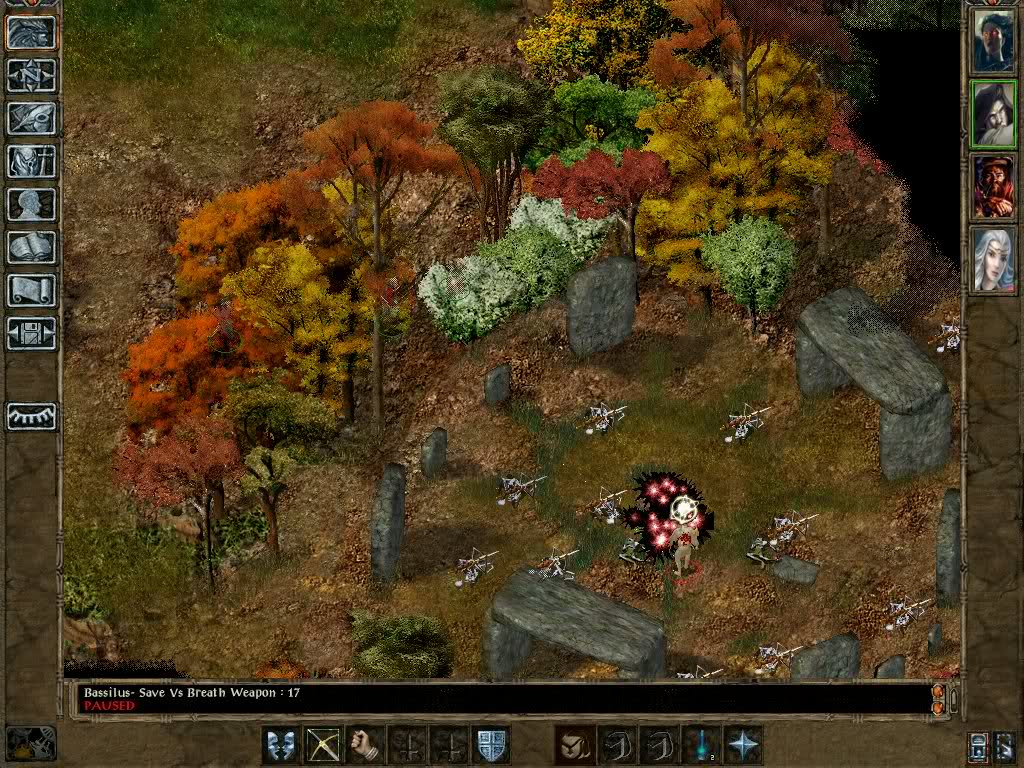
Posted Image
(Where is your God now?!)

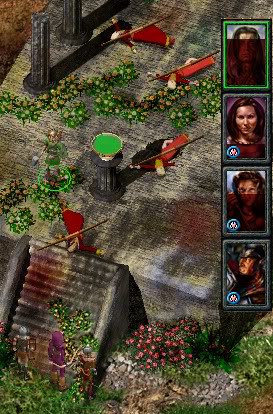
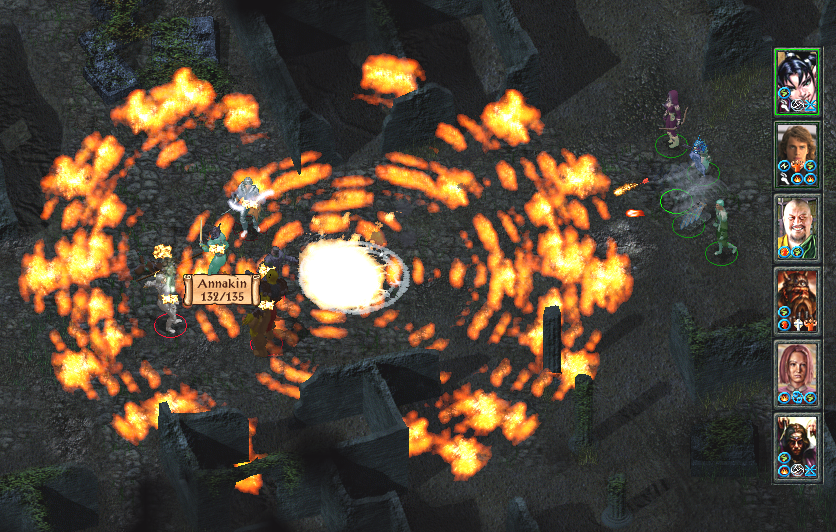
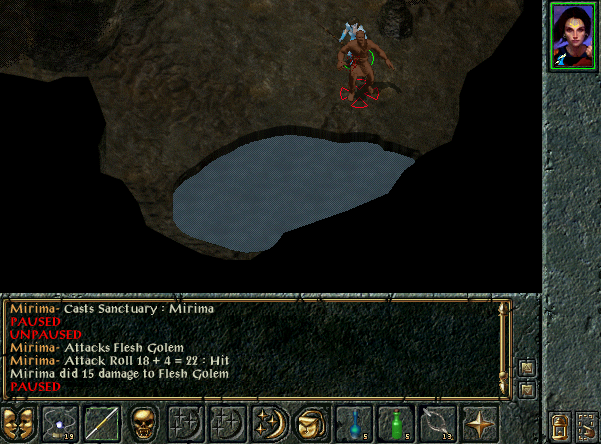
Lastly, the Gilded Rose headed to the coast to find a treasure rumored to contain powerful artifacts. They were assaulted by Sirens, but 
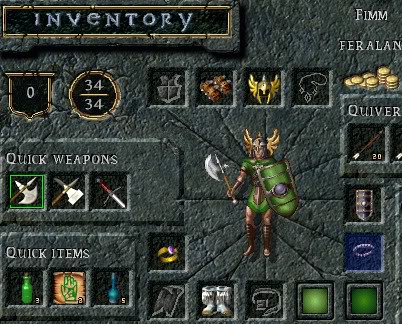
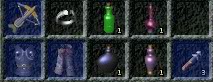
Mad Man disposed of them easily, their charms no match for his madness. Inside the cave, Flesh Golems were abound and proved to be quite a foe. Luckily, the combined might of The Gilded Rose bested even the toughest of these adversaries and the treasure was theirs for the taking. Amongst loot was a powerful tome which was given to Mad Man as his share of the loot. How he managed to stay focused to read the book no one knows. Suffice to say, he never seemed to tire from there on.

Posted Image

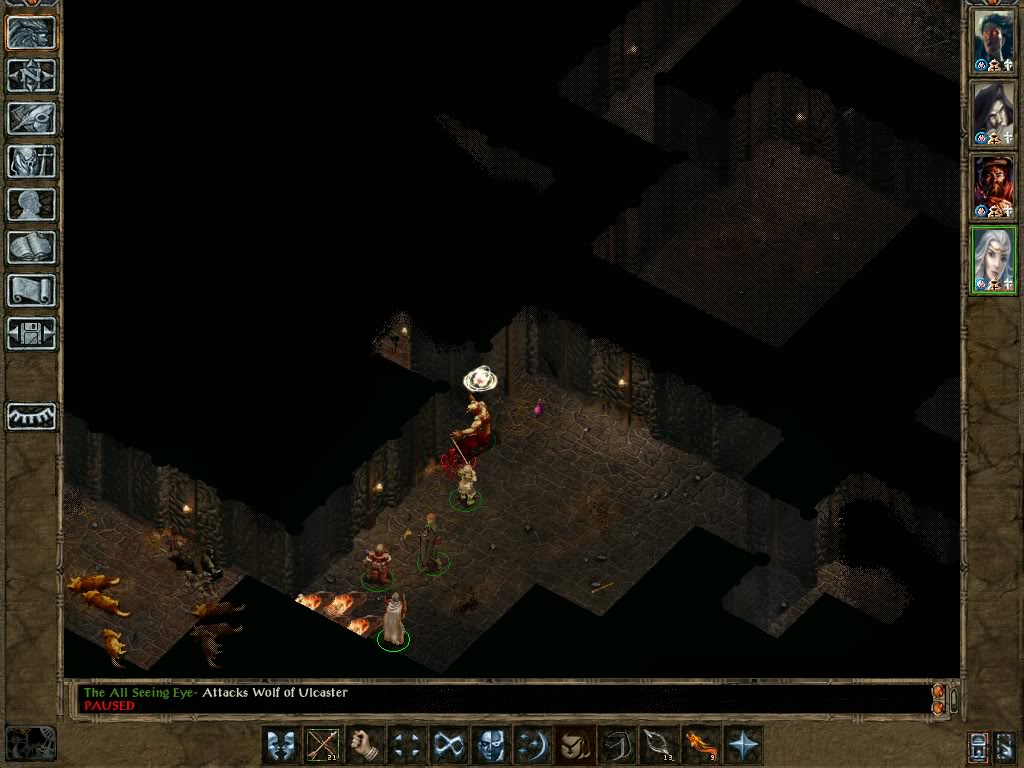
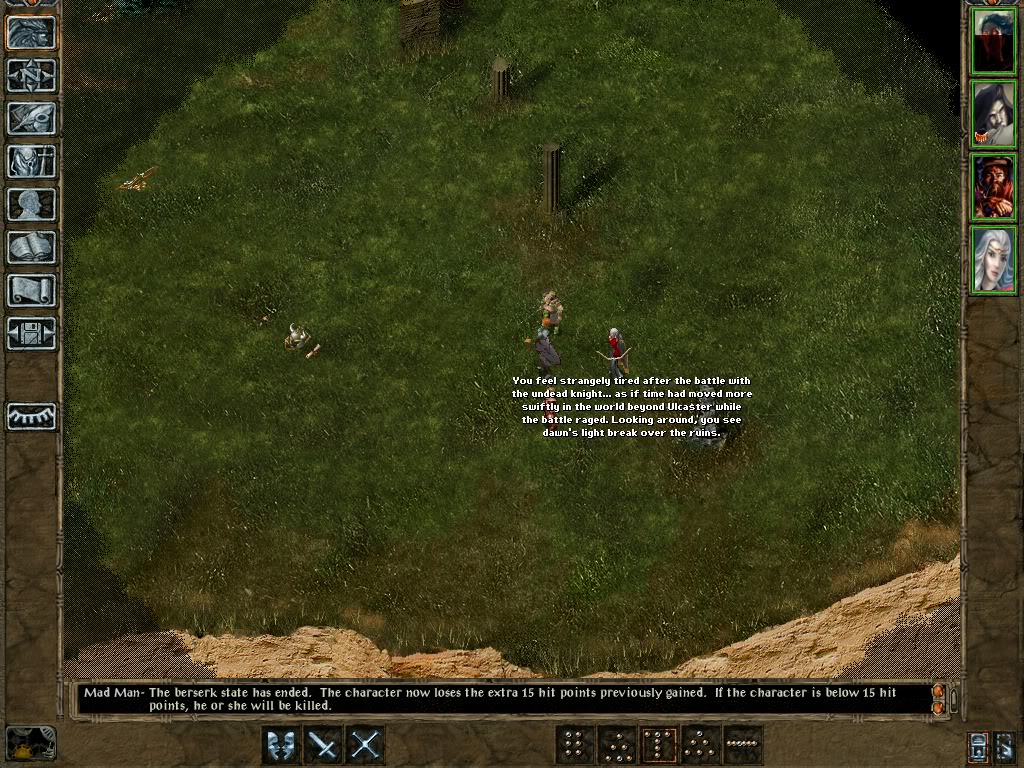
Next Up - A trip to Nashkel Mines, Ulcaster and Bandit Camp.

Edited by Yogohong, 10 April 2011 - 04:14 PM.


#1055
Gate70

Gate70
  • Members
  • 3,208 posts
Fimm the feralan ranger. Travelling with Imoen, Khalid and Jaheira.

Shoal the nereid de-curses Jaheira for us while Droth the ogre mage has little of value. Bjornin gives us a magical shield for dealing with four half-ogres and Bassilus yields an amulet (metaspell).

Zal and Vax hand over a ring (wizardry), then it's time to learn how to posture.
Posted Image

Nashkel mine is dull, unlike our reception outside.
Posted Image
Khalid kills Zeela.
Posted Image
Jaheira kills Lamahla.
Posted Image
Imoen kills Telka.
Posted Image
I kill Maneira.
Posted Image

Nimbul is out of his depth as is Tranzig. Khalid and Jaheira have to decide who gets to wear the crafted ankheg armour. He wins, who'd have thought it.

Imoen decides to become our main spellcaster, creating a vacancy for a thief. She learns a bunch of spells and tries the ring of wizardry on for size, only to find it is a ring of clumsiness. Temple visit and 500gp haha Zal and Vax must be laughing in their graves.

(After a Beregost crash fix) We set off for High Hedge.

Edited by Gate70, 10 April 2011 - 09:56 PM.


#1056
Wierdo

Wierdo
  • Members
  • 392 posts
Wierdo's Bhaalspawn Bretheren

Dead City - Penultimate Challenges


Wierdo and her band have just come around the last bend and are now sprinting to the finish. Their goal: to navigate the Thieves Maze, destroy any opposition in the Dead City, penetrate the Temple of Bhaal and destroy Sarevok without stopping to rest.

So far they have gone pretty well. A bit of trap damage taken in the maze, but nothing that can't be repaired with the Ring of Regeneration and a potion or two. Hoarding potions is meaningless now.

Wierdo notices a band of evil adventurers in their path. Seems like a perfect opportunity to yet again apply the Immolation Strategy. Wierdo & Xan cast Fireballs, Imoen and Buddha throw Potions of Fiery Burning and Annakin drops one on his own head. Imoen & Wierdo follow up with Arrows of Detonation. Annakin concentrates on the mage first, then chops up whatever is left.

Posted Image
"Fireballs also kill a second (invisible) mage that Wierdo didn't even know was there!"

That all taken care of, Wierdo scouts ahead again and finds her old friend Shargrailar waiting for her again! Cooooool, Wierdo has been keen to kill him again to see if he has another pair of those really nice Boots of Speed.

Posted Image
"Didn't I kill you?"

Firstly, Wierdo scouts down (south) slightly and finds a couple of dozen skeletons and zombies just waiting to come out and attack the party. A quick fireball from Wierdo's Wand of Fire takes care of them all in one deft action, making the coming fight much easier.

Time again for another textbook Immolation Strategy on Shargrailar! Turned out to be a  good call because Shargrailar insta-summoned a bunch of mercenary henchmen to help him out. However, the fireballs managed to get many of them too. Buddha made short work of the mercenaries that tried to sneak up behind the party, putting his Stunning Blow technique to good effect.

Posted Image
"Textbook Immolation Strategy"

It turns out that Shargrailar did have more Boots of Speed after all! Wierdo snaffled them, but left all the potions of speed that the mercenaries left lying around - after all, as Xan would say, "We're all doomed".

Next: Confronting Sarevok

Edited by Wierdo, 11 April 2011 - 11:09 AM.


#1057
Wierdo

Wierdo
  • Members
  • 392 posts
Halfway through the fight with Sarevok, the game crashed ... back to the autosave ...

#1058
Lawisendro

Lawisendro
  • Members
  • 9 posts
 Can I still join? I'll post my character, but remove it if it's too late...


Lawisendro
Paladin
STR 18/00 (YES YES YES YES YES!!!!!!!!!!!!!!!!! OH YAH!)
CON 13
DEX 10
INT 11
WIS 13
CHAR 17

Large sword  **
BOW **

#1059
Gate70

Gate70
  • Members
  • 3,208 posts
This challenge has been going on for a few years now so welcome Lawisendro.

#1060
Gate70

Gate70
  • Members
  • 3,208 posts
Fimm the feralan ranger. Travelling with Imoen, Khalid and Jaheira.

Safana wants our help but I send her to the belching dragon. After emptying my backpack onto Khalid I sneak past three sirines, carrion crawlers, three more sirines and two flesh golems to retrieve some loot. I have to run past the golems and only slip into the shadows at the cave exit. I make it back in safety.

Imoen and Jaheira applaud but Khalid has noticed the hefty slap (13 damage) I sustained from a golem and is furious with me. Nothing will placate him until I show him the goodies that the cave held.
Posted Image
He's very happy with his new armour and weapon (THACO drops from 11 to 6 with 3 pips in crossbow, got something very special lined up for him later).
Posted Image

Unshey rewards us twice for the belts (extra 400xp). Alexander, Delgod and Sendai are next, and leave me some boots of speed. I upgrade my bracers after killing three ghasts in a burial mound (ac -3 or -4 with barkskin and -6 with rage).

We decide to deal with a revenant. I have no suitable weapon so take the blows while Jaheira and Khalid attack. Imoen adds two Larlachs and two Agannazar's then the revenant starts hitting us more, switching target when we are helpless. Imoen uses the ring of energy twice to rescue us.
Posted Image

Edited by Gate70, 11 April 2011 - 09:02 PM.


#1061
Grond0

Grond0
  • Members
  • 6,498 posts
Dizzy and co. headed back to the mine area, only to find that the Archdruid had disappeared - oh well, that makes life easier.  The party outside the mines fell quickly, but Viconia was killed at the mine entrance by someone called Tytus (NTOTSC?) -  I thought he was just a normal guard and Viconia was dead before I realised my error.  As Kagain had picked up a cursed chaos flail I decided to undertake the round trip to the temple.

The only other slight drawback was when Daveorn managed to kill Alora with a fireball - making it a bit more difficult to open up the treasure chests.  However, sale of goodies from the mines brought the party's wealth up to 295,000 so funding is not exactly a problem at the moment.

#1062
Grond0

Grond0
  • Members
  • 6,498 posts
And Dizzy eventually falls over.  I had been finding using the mod weapons too unbalancing - pretty much all battles were over in a flash just by charging into battle - but came unstuck with this 'strategy' against the first group of mages on the ice island.  Their chaos spells caused problems initially with Alora and Viconia falling victim to friendly fire while trying to keep Kagain and Dizzy from killing each other.  Then, with 2 mages dead and the 3rd at near death, he tried a desperation chromatic orb - and Dizzy died.

#1063
Yogohong

Yogohong
  • Members
  • 17 posts
The Gilded Rose Part Two - Fixing the Problem

Last time we left our heroes, they had uncovered a great treasure. Putting their own petty material desire aside, they set out to help the people of the Sword Coast by heading to the Nashkel mines. Inside the mines, the group encounters the source of the troubles: the half-orc Muhaley! Discovering his evil plot, he attacked the group and they responded in kind.

Posted Image

Finding documents relating to the recent bandit activities, The Gilded Rose headed out of the mines for a quick stop in Nashkel. The mayor thanked the group and rewarded them handsomely. Sadly, a confused individual identified as Nimbul did not take a liking to that and attacked. Needless to say, he did not live to regret his mistake.

Before heading up north to confront a mage named Tranzig and the bandits, the group headed to the fabled ruins of Ulcaster. Here they were met by a horde of zombies, skeletons and kobolds. Nothing to worry about and Mad Man needed the exercise.

Posted Image

After a brief trek, they found what was left of Ulcaster. They encountered a ghost who identified himself as Ulcaster! He wanted a tome deep within the ruins. Feeling sorry for the ghost, the group accepted his plea and ventured into the dungeon, but they were ambushed by more skeletons and kobolds.

Posted Image

Inside the ruins were monstrous mustard slimes and dread wolves. The party proceeded with caution as a single wrong step could spell the end of their adventure. As their search for the book neared, the dangers became more evident; the book was guarded by a monstrosity only known as the Wolf of Ulcaster! A fierce battle took place, but luckily our heroes prevailed.

Posted Image

With victory assured, The Gilded Rose retrieved the book and returned it to the ghost of Ulcaster. He was very happy with its return. Yet the danger had not yet passed. A hideous skeleton of Myrkul attacked the group in a battle which lasted for hours. Through blood and steel, the creature was laid to rest by a combination of Mad Man's excellent swordsmanship and the power of The All Seing Eye's God, Helm.

Posted Image

The Gilded Rose had had enough with the restless undead and resumed their investigation into the troubles of the Sword Coast. They confronted Tranzig, who was spared no mercy, and discovered the bandit camp through a most talkative bandit. Agreeing to a full frontal assault, The Gilded Rose entered the bandit camp. As expected the bandits gathered in force to exterminate our heroes. But our heroes were prepared and as soon as the bandits had gathered into formation, fierous fireballs of great destruction were let loose unto the unsuspecting mass.

Posted Image

The bandits and their leaders were burned to a crisp and the rest of the camp was easy picking for the group. Documents inside the leaders' tent indicated a base in the Cloakwood Forest. The true masters behind the troubles of the Sword Coast continued to elude our heroes.

Next Up - Cloakwood Forest and Mines

Edited by Yogohong, 12 April 2011 - 03:50 PM.


#1064
SpiffyKeen

SpiffyKeen
  • Members
  • 54 posts
I decided to try again with a Cleric/Mage multiclass character.  I am running BGtutu with the same mods as before:  BG1 NPC mod and the containers option from the BGtutu Tweak Pack.  I also boosted the experience cap to a very high level for BG1 (900k I think). 

-----

I went with a Female Chaotic Neutral Half-Elf this time, named Mirima.  I rolled her stats to 18/18/15/16/18/8.  She did the normal Candlekeep errands, went through the horror of seeing her father killed, and then joined up with Imoen, then Xzar and Montaron, and then Jaheira and Khalid at the FAI. 

I decided to go with a large party initially, planning on having Mirima travel on her own later.  I also decided to make a greater effort to go hunting for experience while Mirima was part of a large party.  In the past, I had often rushed through the initial iron-shortage storyline, meaning that I got very few level ups in the early going. 

As a result of this more aggressive approach, Mirima decided to take on quite a few gibberlings (perhaps 30) on the way to the FAI.  With many one-hit kills (even using regular slings and arrows), gibberlings are a fantastic early hunting target at 35 experience points each!  Then, at the "neutral" ground of the inn, the party of 4 managed to defeat Tarnesh without taking any damage. 

On the way out, the now full party of 6 cleared the FAI area, the east side of the crossroads area, and the entire area just south of Beregost (although Montaron did get 1-hit killed by an Ogrillon).  The party got a lucky break enountering 3 ghasts for a quick 2k experience.  (I'm not sure, but I think both Imoen and Jaheira leveled up somewhere around here.)  At one point, Khalid was almost killed, and started to flee.  Jaheira "talked" him back to his senses (Remove Fear).  Mirima then led the crew to the Song of the Morning Temple to raise Monty. 

Back at full strength, the group continued south to Nashkel.  There were a few battles with bandits on the way, but nothing serious.  They all met the mayor and then headed to the carnival on route to the mines.  At the festival, Mirima and pals met quite a few strange characters.  The wizard Zordral did give a bit of a fight, sending Xzar and Monty into a panic, but ultimately did not survive.  In addition, Jaheira helped Mirima free a stoned woman.  Branwen seemed like a good traveling companion, so Mirima sent the evil pair on their way to make room for the warrior priestess.  The party began to have a strong independent-female flavor! 

Posted Image

The mines were an interesting trip, mostly because of all the level ups.  First Imoen, then Khalid (who I feel like I never see level up any more), and finally Mirima hit level 2 in her Cleric class after a ghoul and a couple spiders.  In the depths, Mirima and company faced a Kobold-King Cleric named Mulahey.  After a Command from Branwen and a few quick hits, he tried to run away.  He and his minions were quickly dealt with after that.  The womanly band of adventurers (sorry Khalid) also saved an imprisoned elf named Xan. 

Back at Nashkel, the quatro received their hero's reward, which involved defending themselves -- twice -- which they did very efficiently.  After selling some more loot, Mirima's party of heroes headed north where they vanquished more ghasts, ghouls, and gibberlings.  Mirima, Branwen (now level 3), and Imoen began to have an inflated opinion of their battle capabilities (Khalid and Jaheira would never do that).  Back in Beregost, without much preparation, they confronted Tranzig, and one by one the party fell to his magical blasts.  He was near death, so Mirima used the last charge on Imoen's old wand to finish him off (she even leveled up with the kill!).  Then she had to carry all the bodies across town to the temple to be raised. 

Posted Image

After recovering and resting, Mirima and crew explored the town in more depth, helping all that had money (or trinkets, or experience) to offer.  Khalid and Mirima leveled up while saving a few of Feldepost's "thugs."  They also visited the mighty mage of Beregost while looking for a runty short sword.  Imoen and Jaheira leveled up killing some skeletons, gnolls, ghasts, and spiders.  With nothing much to do -- except to go looking for trouble with bandits -- Mirima realesed all her companions for a while. 

-----

Next up, Mirima travels the Sword Coast -- free as a bird -- to do what ever strikes her fancy.  For now, she is a Level 3 Cleric/Level 2 Mage with 19 hitpoints. 

Posted Image

#1065
Lawisendro

Lawisendro
  • Members
  • 9 posts

Lawisendro wrote...

 Can I still join? I'll post my character, but remove it if it's too late...


Lawisendro
Paladin
STR 18/00 (YES YES YES YES YES!!!!!!!!!!!!!!!!! OH YAH!)
CON 13
DEX 10
INT 11
WIS 13
CHAR 17

Large sword  **
BOW **


This is downright IMPOSSIBLE!!! Computer crash right after creation! New stats!

18, 49
10
16
12
13
17

Otherwise, same. (Does anyone know how to mod stats?)

#1066
Yogohong

Yogohong
  • Members
  • 17 posts
Modding stats is not permitted within the no reload challenge. If you still wish to mod them, you can download Shadowkeeper or Gatekeeper (if you are not using Bgtutu).

#1067
Jeff W

Jeff W
  • Members
  • 64 posts

Yogohong wrote...

Modding stats is not permitted within the no reload challenge.


Silly rule... rerolling stats is not a test of skill. 

#1068
Lawisendro

Lawisendro
  • Members
  • 9 posts
 My game crashes on autosave, the bar just stops... anyone that may help? I wanna be in this challenge so badly...!

#1069
SpiffyKeen

SpiffyKeen
  • Members
  • 54 posts
Mirima started off on her own by traveling north.  Along the road to Baldur's Gate, she explored a cave and found a nice treasure cache.  It included potions, scrolls, magical weapons and armor, gold, a ring, and a fire wand!  There was also a dead body, which she returned to a local farmer.  After some intrigue, she ended up helping a young cleric named Tenya, which led to a double level up (C4/M3).  Mirima wanted to continue to the city, but it was closed.  She also considered visiting Ulgoth's Beard, but instead returned to Beregost to explore the nearby wilderness. 

Mirima, armed with a wand, cleared as many monsters as she could from the lands around Beregost.  Fighting wolves around the temple resulted in a level up (4/4), as did fighting various monsters (wolves, ghasts, ogres, crawlers, etc.) along the coast(5/4), and another level up came after fighting many ghasts along with hobgoblins, wolves, and a mad cleric named Bassilus on the way back to Beregost from the west and south (5/5).  (Note:  Melicamp did not make it.)  At this point, skeleton summons had become a very useful tool.  Good thing too, as Mirima had used up all charges on her fire wand. 

Selling all the loot she had obtained in these hunting trips raised Mirima's hoard up to over 20,000 gold.  But she did not make any significant purchases yet, just more sling stones.  At some point I should buy her a nice mage robe and a bunch of level 2 and level 3 mage scrolls (along with intelligence potions to ensure successful scribing). 

Next she traveled east and cleared out a couple clusters of basilisks, and she stopped a sculpture artist ... um, I mean ... a mad wizard from continuing his work.  This led to another level gained in both classes (6/6).  Then she turned back west to the coast and used skeletons to help remove a local sirine threat (7/6). 

Then she managed to defeat 3 flesh golems found in a cave, which surprised me.  She used Draw Upon Holy Might to hit with more force (20 strength) and used Sanctuary to sneak up for a hit and run.  Then she lured them to her skeleton army, which did not last very long when faced with hard punches.  So for the final golem she had to use +1 sling stones, but it only took a few hits after an initial 15 damage, +1 quarterstaff hit. 

Posted Image

End result:  Mirima leveled up to Cleric level 7 and Mage level 7.  (Too bad I cannot get any level 4 mage scrolls at this point... or can I?  There might be some to be had in Ulgoth's Beard...)  I think I will have Mirima join up with Safana for more exploring, including various dungeons.  The loot from the coastal cave had a wand of paralyzation (which will be very useful) and a constitution tome.  Using the tome netted +7 hitpoints for Mirima.  Now she is up to 43!  For all this hunting, there was only 1 semi-scary point when a couple critical hit from a Worg brought Mirima down to only a few hitpoints.  In general, however, she was pretty much safe against wolves with plate mail armor, a helmet, her dexterity bonus, and the piercing girdle. 

-----

Sorry to hear about some of the deaths recently, but it is nice to see so much activity and players trying again after disappointment.  It is nice to see Tyrus continue in the BG2 Challenge!  I am hoping for more Wierdo stories as well!  Otherwise, the BG2 Challenge thread has been kinda slow. 

@Lawisendro - I may not be much help myself, but to know how to fix your problems one would probably need more information about what your game install is like and how the crashes happen.  Crashing right after character creation and during autosaves seems very unusual.  Are you playing the original Baldur's Gate game, or are you playing BG1 with Tutu? 

#1070
Yogohong

Yogohong
  • Members
  • 17 posts

Jeff W wrote...

Yogohong wrote...

Modding stats is not permitted within the no reload challenge.


Silly rule... rerolling stats is not a test of skill. 


True and while this challenge has transgressed into the territory of personal skill, I feel that one should stay true to the roots of the challenge. In my view it is a slippery slope once you begin to modify the game in any area save for fixing game crashing bugs (which is permitted by the challenge rules).

#1071
Gate70

Gate70
  • Members
  • 3,208 posts

Lawisendro wrote...

 My game crashes on autosave, the bar just stops... anyone that may help? I wanna be in this challenge so badly...!


Better to ask this in the technical help forum. Generally it is best to install to a non program files directory on Vista or Windows 7, such as c:\\games. If you do post for help please add full details of your install including any patches/mods.

#1072
Gate70

Gate70
  • Members
  • 3,208 posts
Fimm the feralan ranger. Travelling with Imoen, Khalid and Jaheira.

We add Kivan before heading to Larswood. Even with his help I need two blue potions while dealing with Teven and his bandits.

Raiken is simpler and Deke runs away before we can kill him.

Ardenor Crush is next, then a series of bandits lead us to Taugosz Khosann. His bandits are killing me so we beat a retreat to rest and return. There is no escape for him on our second meeting though, nor for Garclax.

I attack Raemon while everybody else kills Venkt then Hakt. Raemon takes a surprisingly long time to die then Britik quickly joins his companions. Imoen warns us off opening a chest, surmising that it must be trapped. I reluctantly agree to search for a temporary thief.

#1073
Jeff W

Jeff W
  • Members
  • 64 posts

Yogohong wrote...

True and while this challenge has transgressed into the territory of personal skill, I feel that one should stay true to the roots of the challenge. In my view it is a slippery slope once you begin to modify the game in any area save for fixing game crashing bugs (which is permitted by the challenge rules).


The challenge permits people to turn off core rules temporarily and get maximum hp on level ups and 100% spell learning... imo this is more abusive than editing your stats to avoid endless rerolling. But, overall I think it's up to each person to set the limits of their own personal no-reload challenge--as long as it ends when they reload for anything except a bug/crash.

#1074
Grond0

Grond0
  • Members
  • 6,498 posts

Jeff W wrote...

The challenge permits people to turn off core rules temporarily and get maximum hp on level ups and 100% spell learning... imo this is more abusive than editing your stats to avoid endless rerolling. But, overall I think it's up to each person to set the limits of their own personal no-reload challenge--as long as it ends when they reload for anything except a bug/crash.

I agree that there is no problem with adjusting stats at the start (and only the start) of the game.  Personally I like to use the Bioware roller, but can see why someone would not want to spend hours doing this when they could be getting on with the game.  I also allow adjustment between stats (so nearly always end with minimum charisma for example), which some would frown upon, but this should be a matter for personal taste. 

I also think the original intention of adjusting was probably just to get the stats back to those of the previously rolled character, who was lost to a computer crash.  Such a case would be clearly acceptable irrespective of your views about stat changing in general.

#1075
Wierdo

Wierdo
  • Members
  • 392 posts
Wierdo's Bhaalspawn Bretheren

Final Fight - Sarevok in the Temple of Bhaal

Sorry to keep you all in suspense - need time to fight the battle, and then write a post about it!

Wierdo and her band came upon the Temple of Bhaal after many trials. They had navigated the Thieves Maze and its traps, discovering a trail of discarded allies. They encountered powerful undead monsters. They had encountered and immolated a group of powerful adventurers bent on destruction themselves. They had encountered the seemingly unkillable Shargrailar, his mercenaries and Tamoko all at the same time - and dealt with them accordingly (again featuring the Immolation Strategy). Thus far the party had not rested since the Thieves Guild and were not going to.

Everyone was keen to get this crap over with and send Sarevok off to Hell. They knew who would be in the temple to greet them, so they buffed or re-buffed accordingly. Then they went invisible.

Then the party carefully crept forward until Sarevok let loose with an evil rant. The Wierdo let loose an Immolation Strategy, while Yeslick cast True Seeing from his Helm of Mind Warding (from SOBH), revealing Semaj and Tazok.

Posted Image

The fireballs didn't hurt Sarevok (or Annakin) at all, but fried Semaj and Tazok. Annakin quickly finished off Semaj as the flames licked around him. Annakin was under an Improved Invisibility spell, so Sarevok didn't notice Annakin at first and seemed intent on beating up some nearby skeletons.

While Sarevok was pre-occupied with skeletons, Anni started taking care of Tazok. Sarevok was exceptionally efficient at killing summoned monsters, so Xan used a Wand of Monster Summoning to make some gnolls as well.

Meanwhile, Yeslick cast a Holy Smite spell and Buddha used the Bottle of Efreeti Summoning (recently acquired from SOBH, looting the Baron's cellar/dungeon) to bring forth and Efreeti. From the look of those dimension door animations, it looks like company is coming (Diarmid and Angelo).

Posted Image

For a couple of rounds the party concentrated on killing henchmen. Annakin disposed of Tazok and Semaj, and then their skeleton warriors.

The Efreeti and Xan provided spell support for Yeslick, who was beating up on Angelo with his Frostreaver Axe +3, which also does stoneskin-penetrating acid and cold damage.

Wierdo and Imoen provided missile support for Buddha, who was beating up on Diarmid (and successfully stunning him with his monk ability Stunning Blow, despite the Diarmid's magic protections :happy:).

Posted Image

Sarevok is very efficient at killing summoned monsters. However, Wierdo's band are also good at killing henchmen and undead. Anni cleans up the skeletons warriors around the altar (with some help from the efreeti, who does some solid melee damage) and Yeslick destroys Angelo with a massive critical hit (52hp damage).

Pretty soon after this Sarevok falls. With his henchmen taken care of, Wierdo's band pummels Sarevok into oblivion.

Wow! They made it! Time for re-installing BG2!

Edited by Wierdo, 14 April 2011 - 03:45 PM.